
Getting Started with Content Lifecycle Manager
This guide shows how to start using Content Lifecycle Manager after the plugin is installed.
Step 1: Open the Plugin Settings
In WordPress admin, go to:
Content Lifecycle -> Settings
This is where you choose what content the plugin should manage.
Step 2: Choose the Post Types You Want to Manage
Under Enabled Post Types, select the content types you want included in the lifecycle workflow.
For example:
- Posts
- Pages
Only enabled post types will appear in the plugin’s content management screens and editor panel workflow.
Step 3: Set the Default Review Interval
Choose how often content should be reviewed after it is marked as reviewed.
You can:
- select a preset number of days
- choose
Customand enter your own number of days
This interval is used when content is marked as reviewed.
Step 4: Save the Settings
Click Save Settings after making your changes.
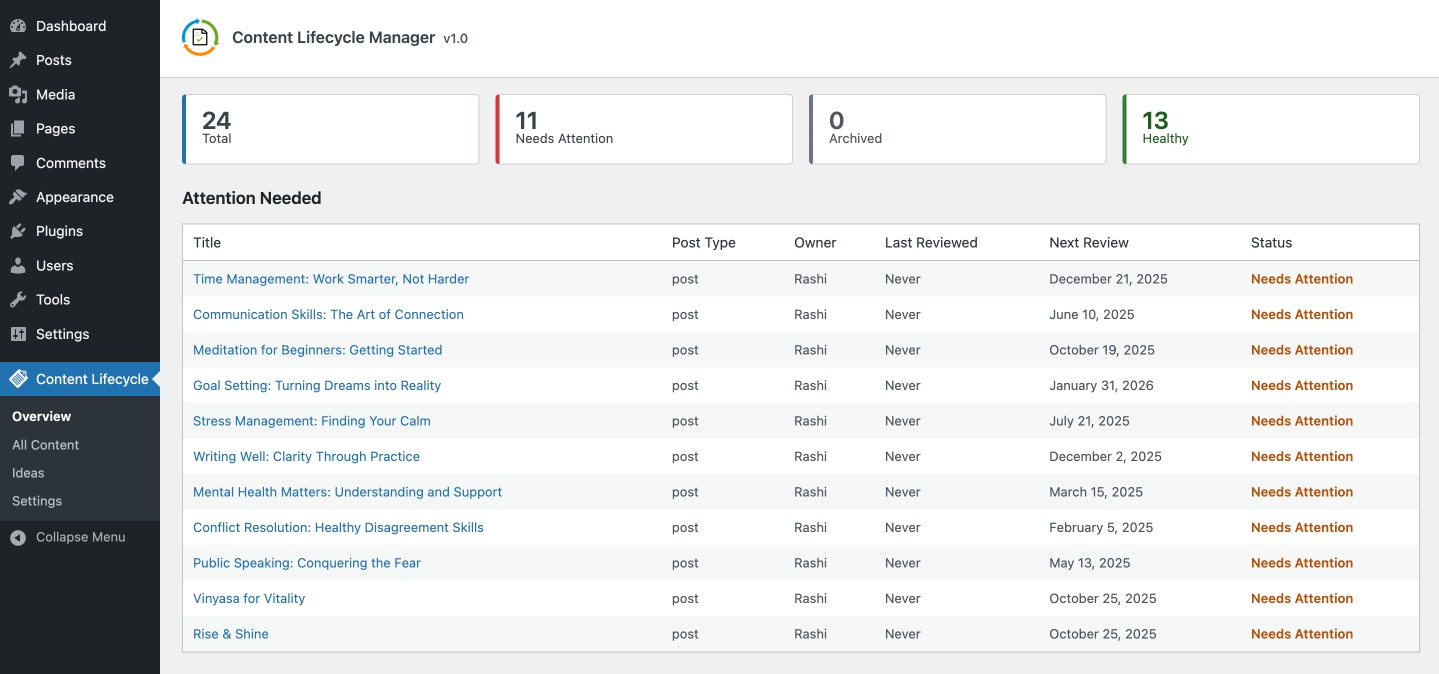
Step 5: Review Your Content
Once setup is complete, go to:
Content Lifecycle > OverviewContent Lifecycle > All Content
These screens help you see what content needs attention and what is already in good shape.
Need to Bring Older Content into the Plugin?
If your site already has existing posts or pages, use the setup guide here:
