Widgets
After/Before Image
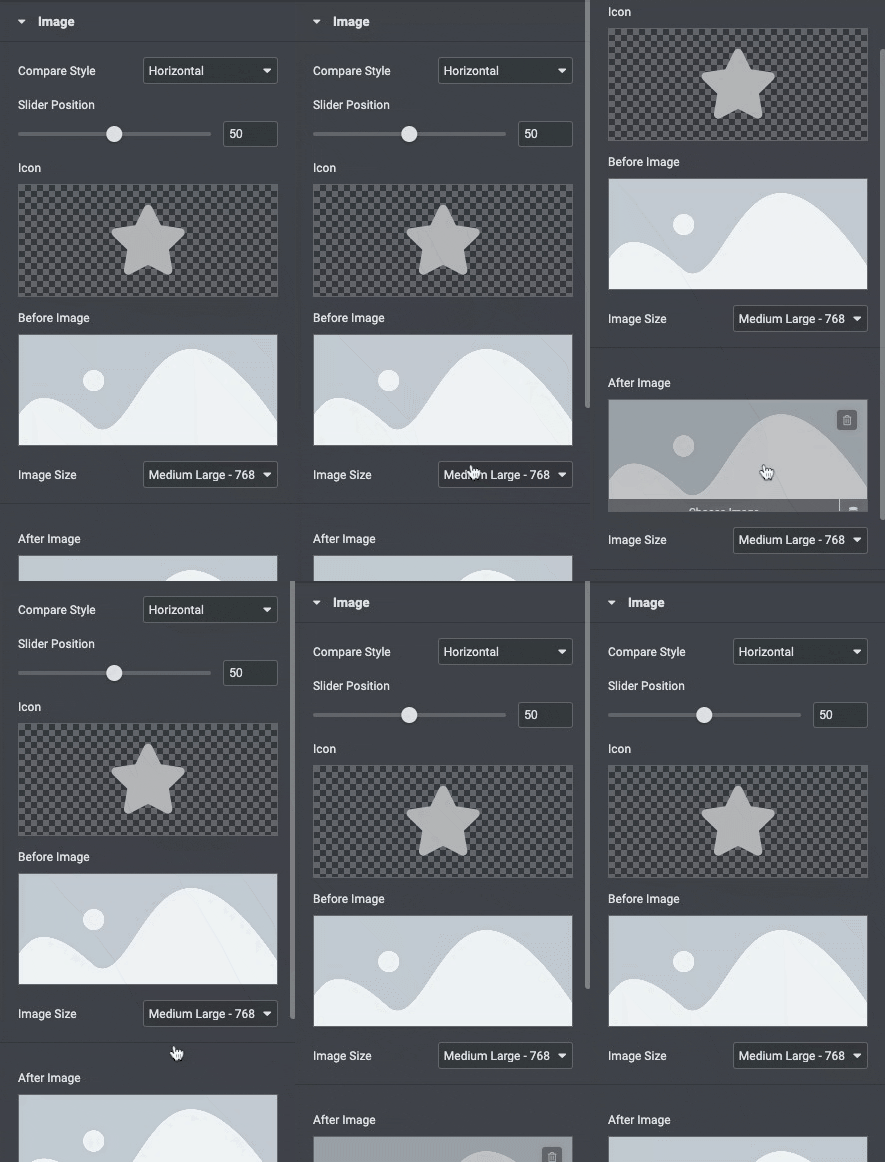
The image comparison widget gives you the ability to compare two images simultaneously. Use the slider on the page to customize the image, which can hide and reveal one image. You can also set horizontal and vertical orientation.
Content

- Compare Style: Set the comparison style as horizontal and vertical.
- Slider Position: Adjust the divider position.
- Icon: Select an icon for the divider.
- Before Image: Select or upload an image via the media library.
- Image Size: Select from the following image sizes, like Thumbnail, medium, large, etc.
- After Image: Select or upload an image via the media library.
- Image Size: Select from the following image sizes, like Thumbnail, Medium, Large, etc.
- Before Text: Add label text for the Before image.
- After Text: Add label text for the After image.
Style
General

- Icon Size: Adjust the icon size.
- Icon Color: Choose a primary color for the icon.
- Slider Color: Choose the secondary color for the slider icon.
- Separator Color: Select a color for the separator.
- Separator Alignment: Set alignment for the separator.
- Separator Width: Adjust the separator width.
Label

- Position: Select a position to display the image label, like the Top or Botton position.
- Typography: Set the typography options for the label text.
- Color: Set the text color for the image label.
- Background Color: Select the background color for the label.
- Border type: Choose the type of border you need for the element.
- Border radius: Set the border radius to make the label angles more smooth and round.
- Padding Set the preferable custom padding for the label text.
